All Images
Introduction
Issues
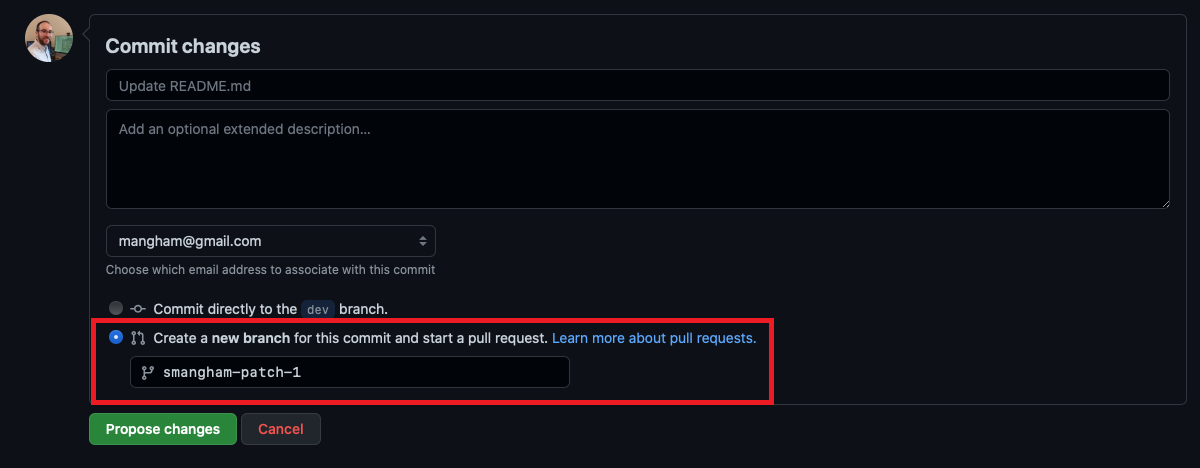
Figure 1
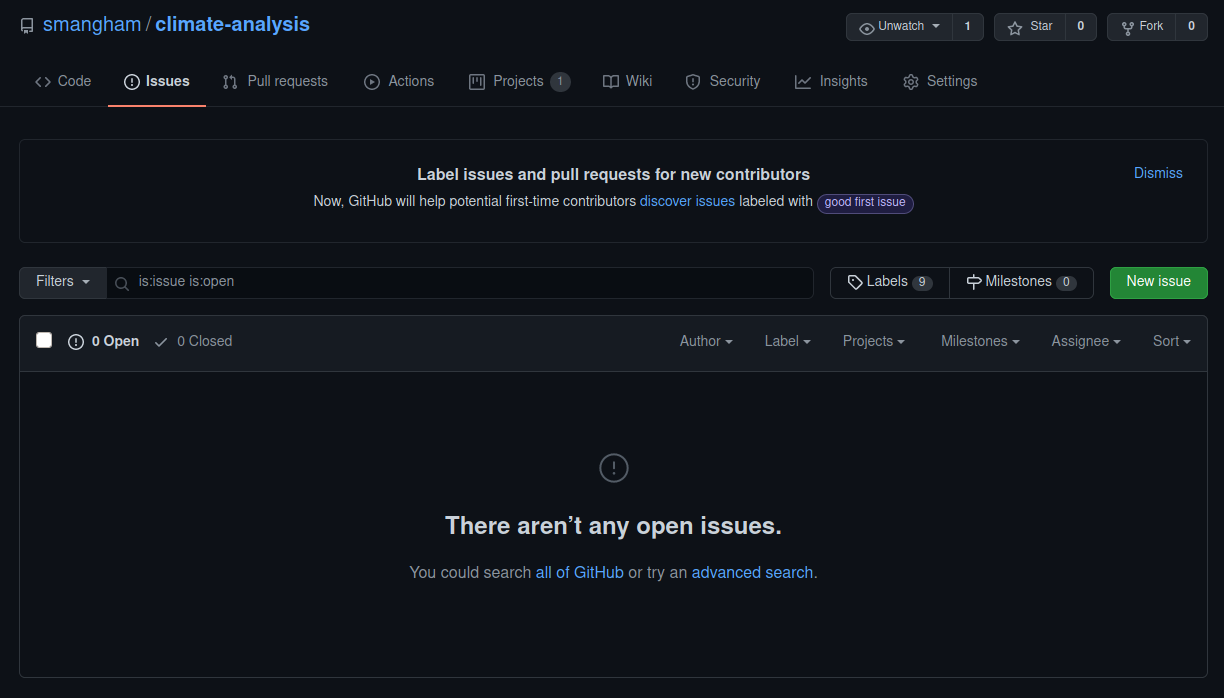
Figure 2
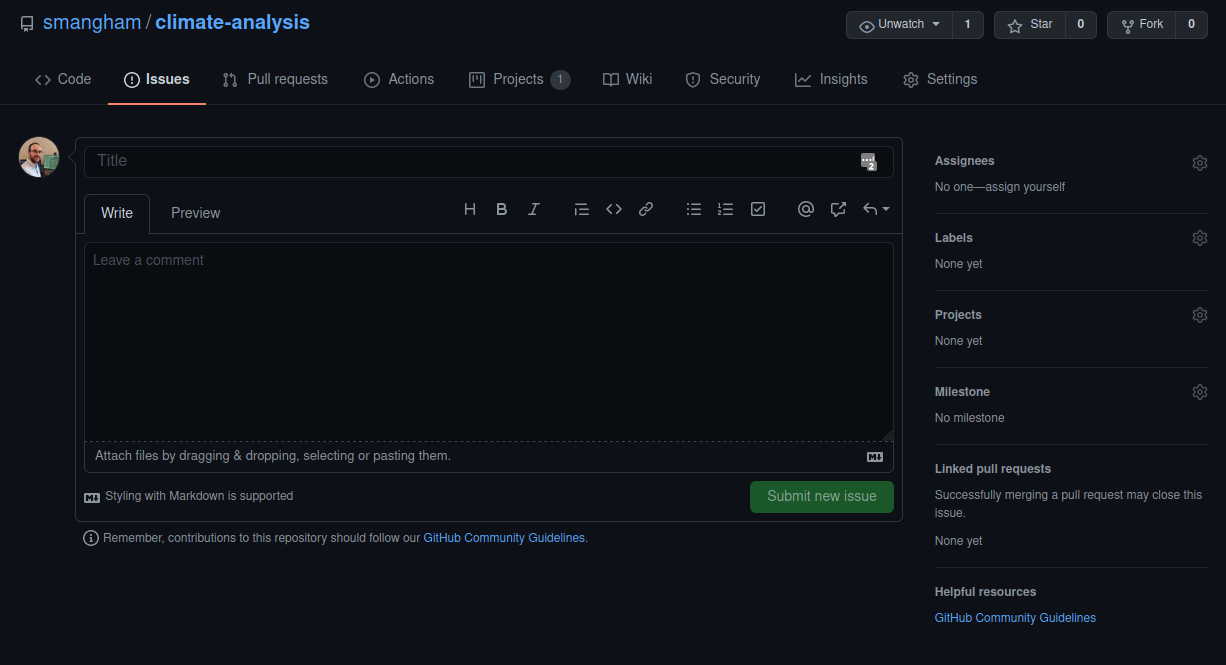
Figure 3
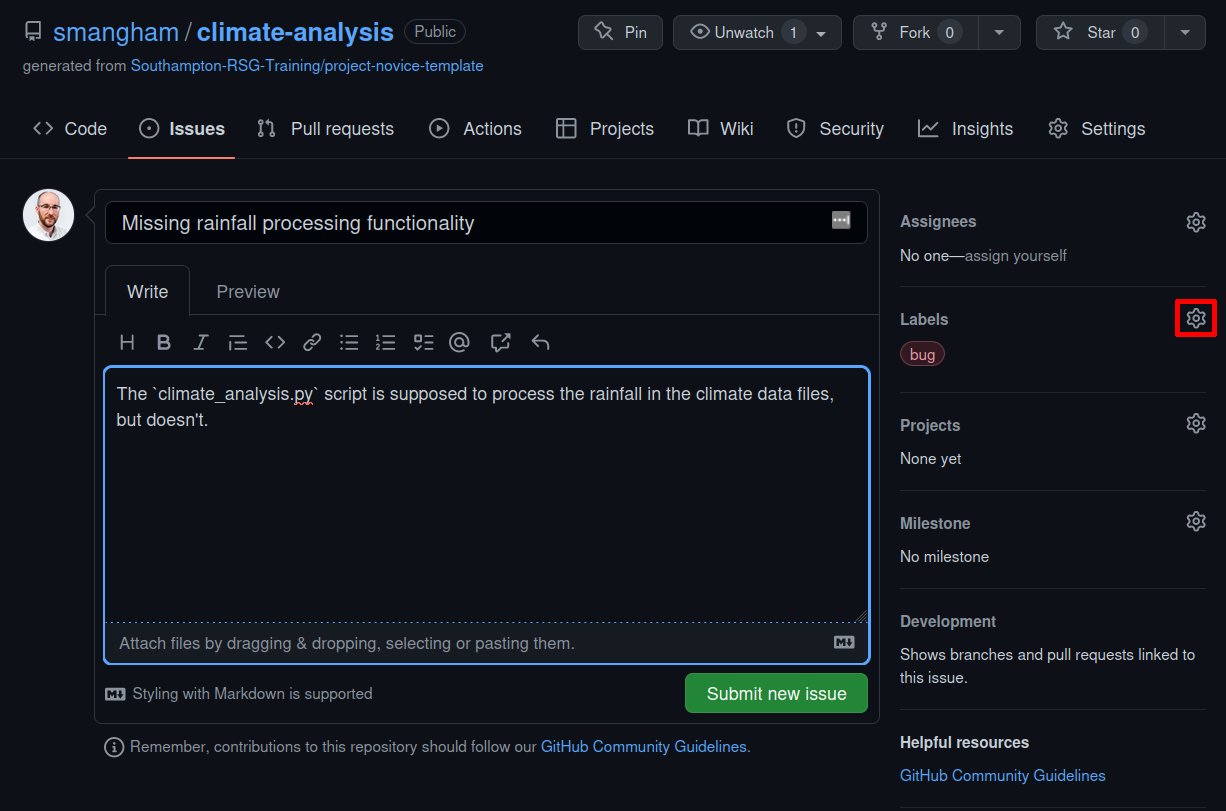
Figure 4
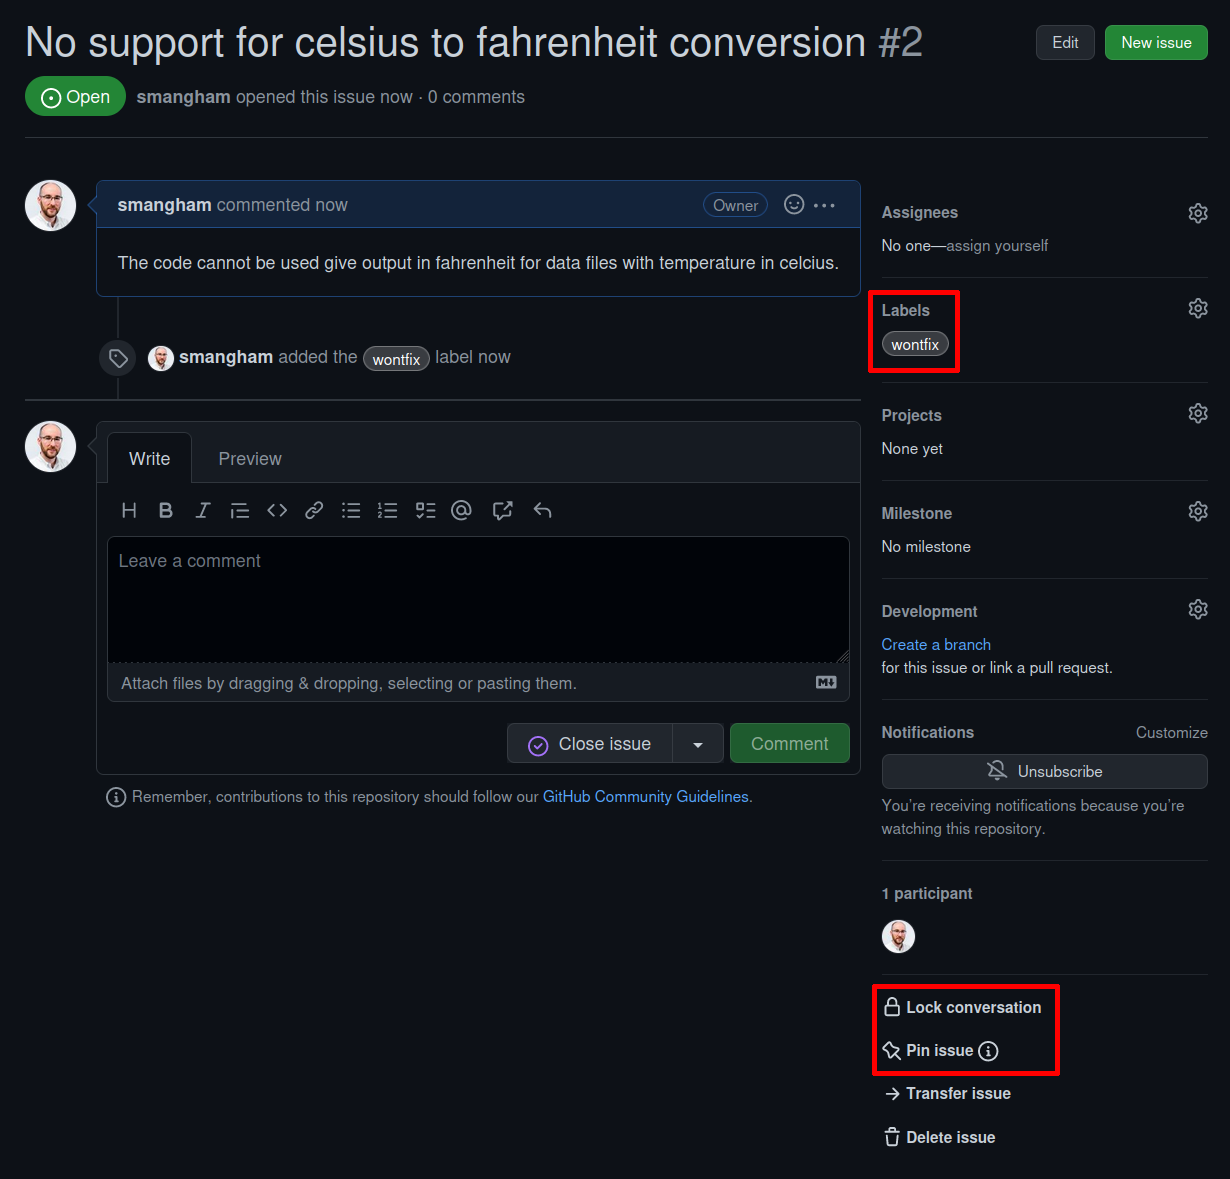
Figure 5
You should get a pop-up box looking like this when you enter the
# key: 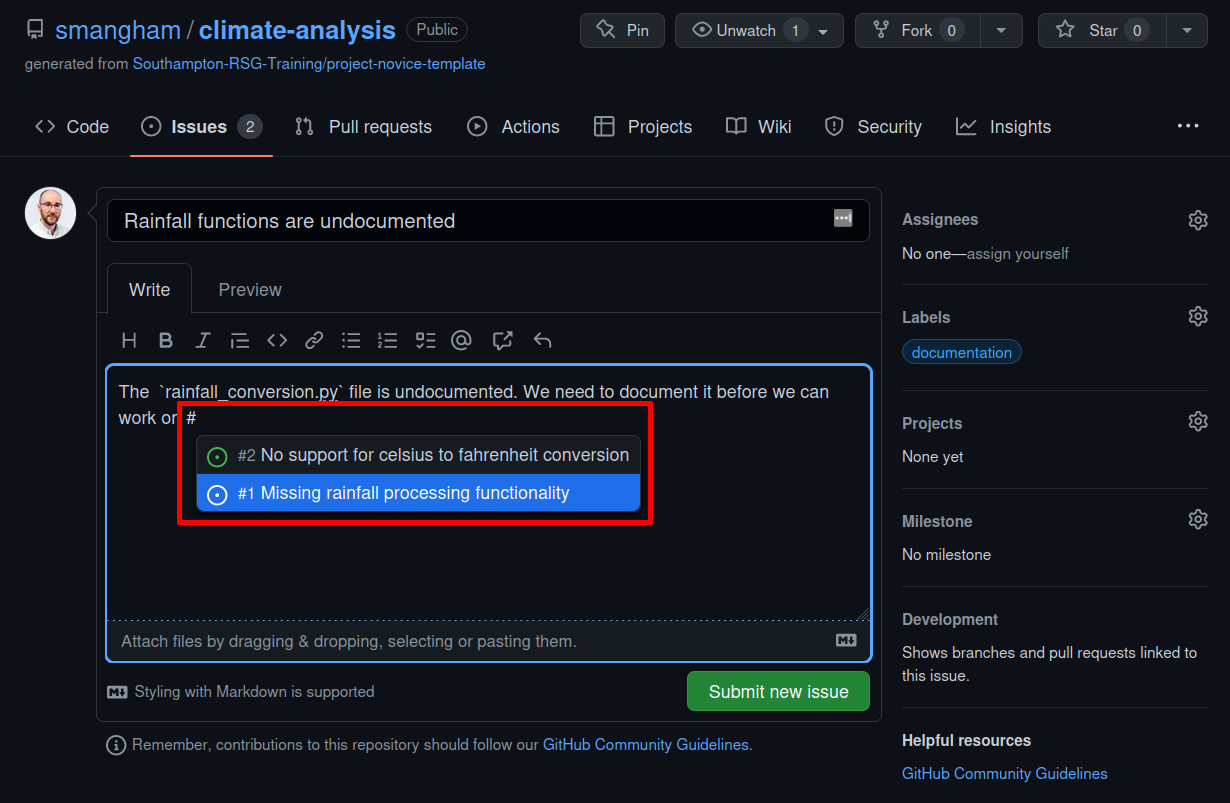 Once you’ve selected the existing issue,
and created your new one, you’ll get a link to the previous one:
Once you’ve selected the existing issue,
and created your new one, you’ll get a link to the previous one: 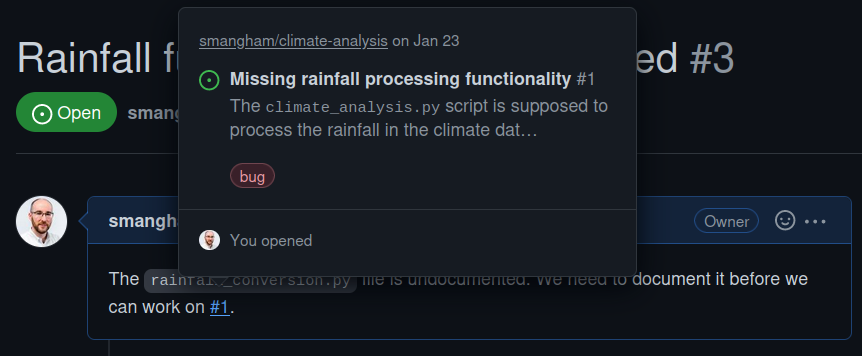
Project Management
Figure 1
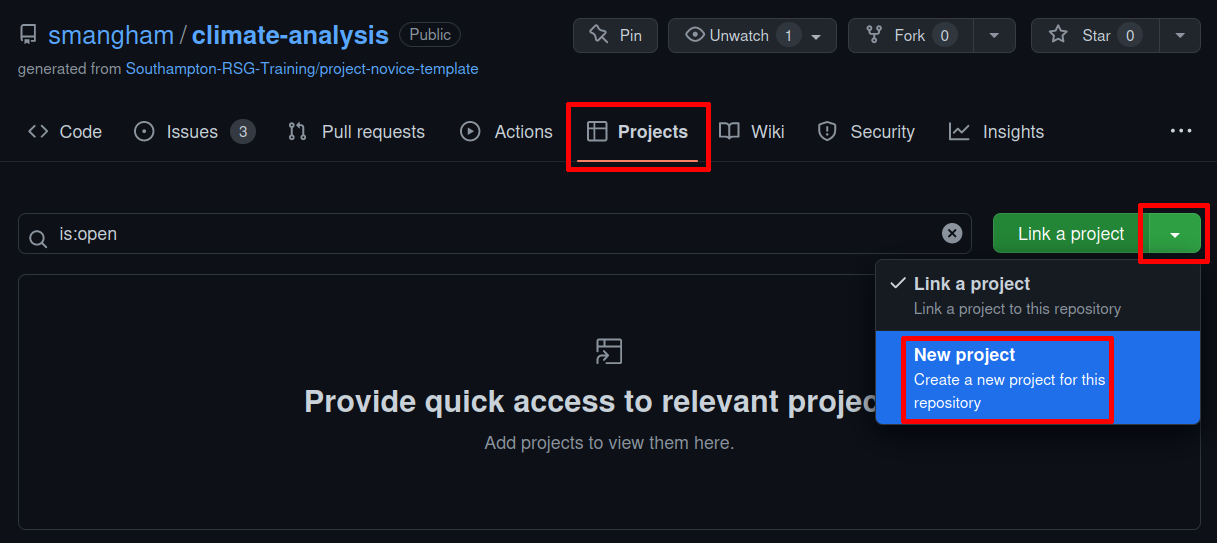
Figure 2
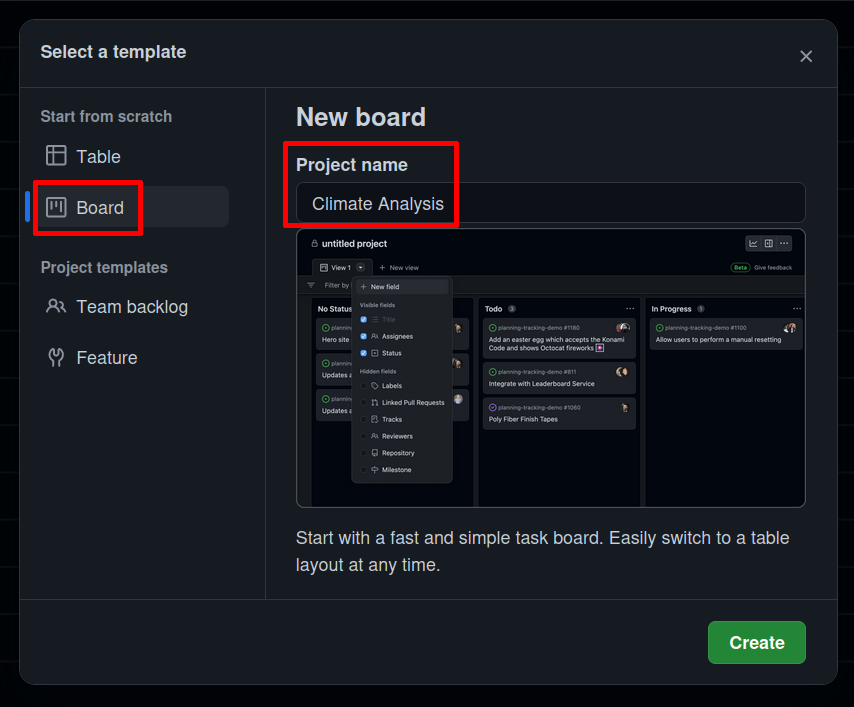
Figure 3
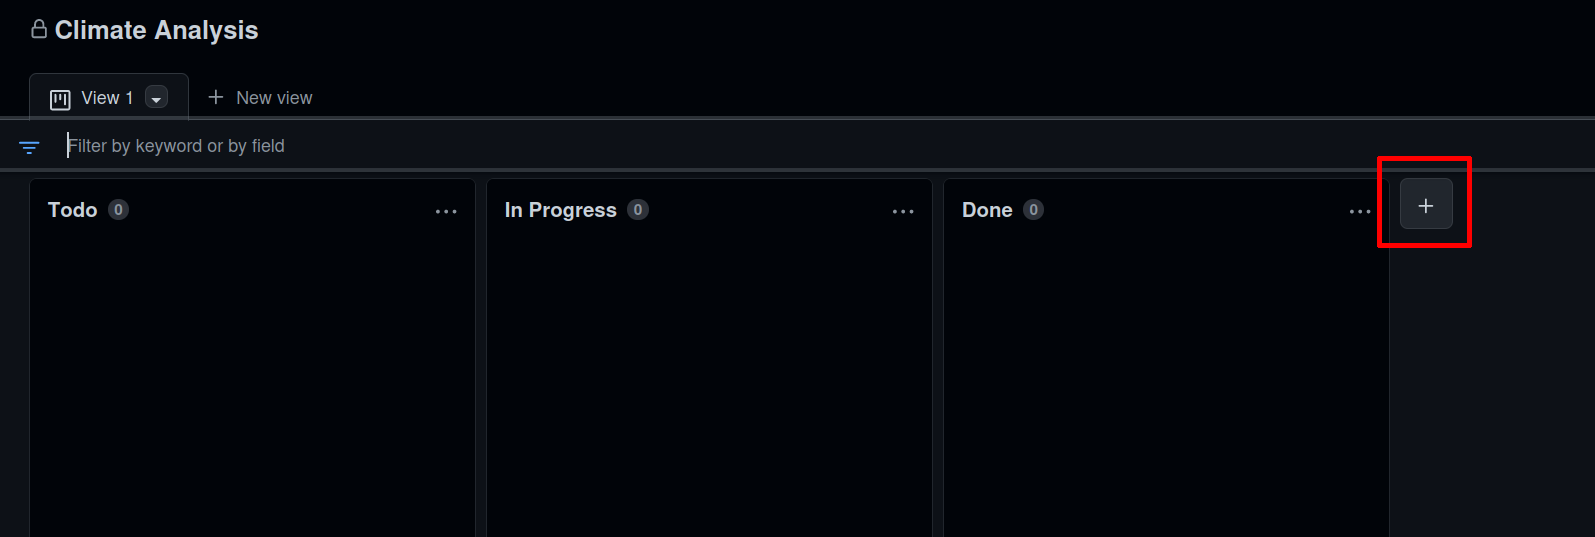
Figure 4
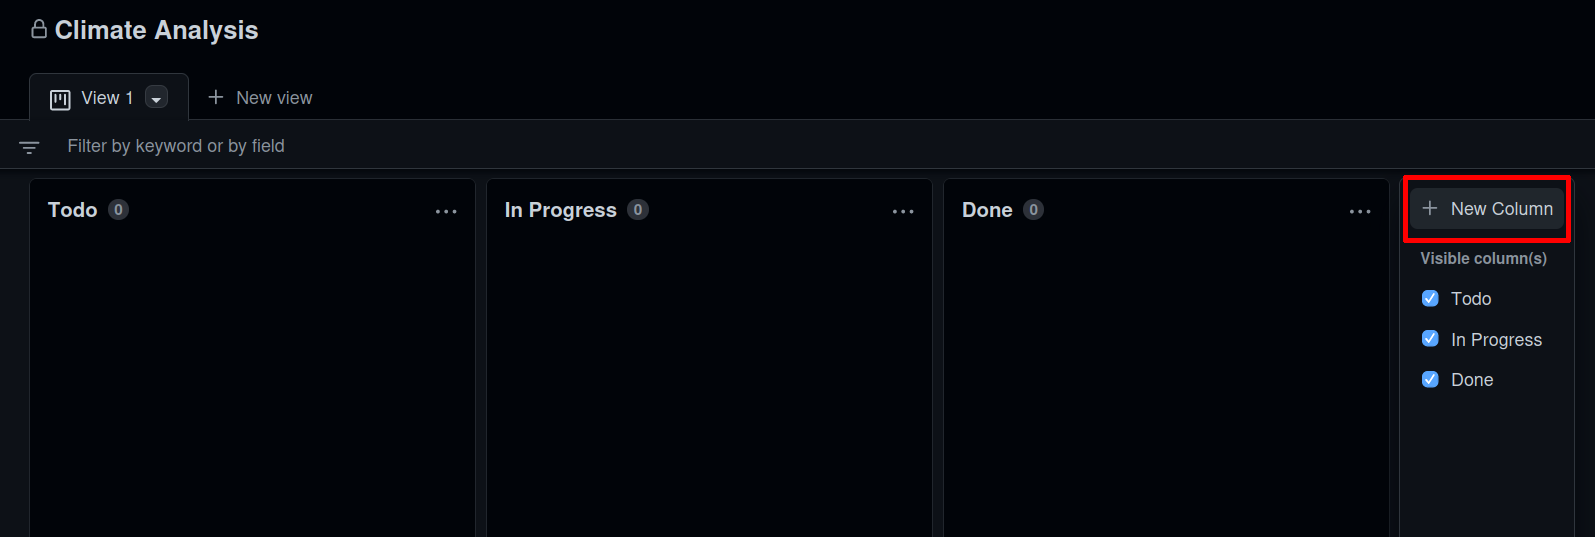
Figure 5
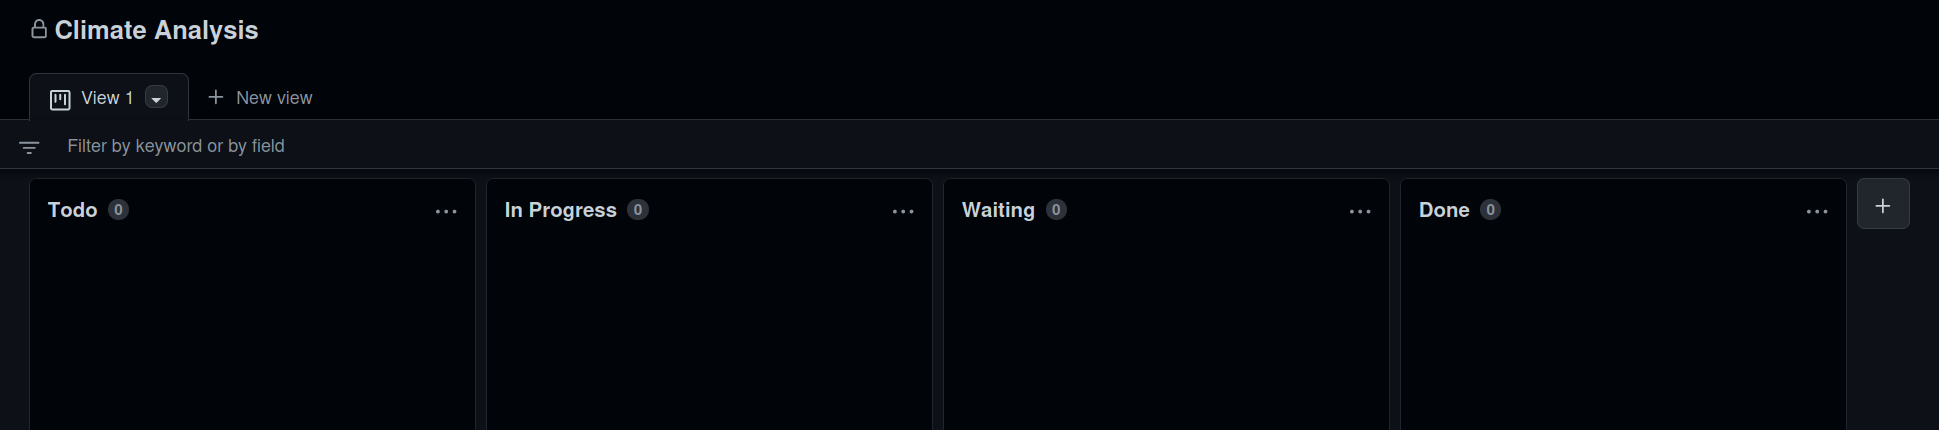
Figure 6

Figure 7
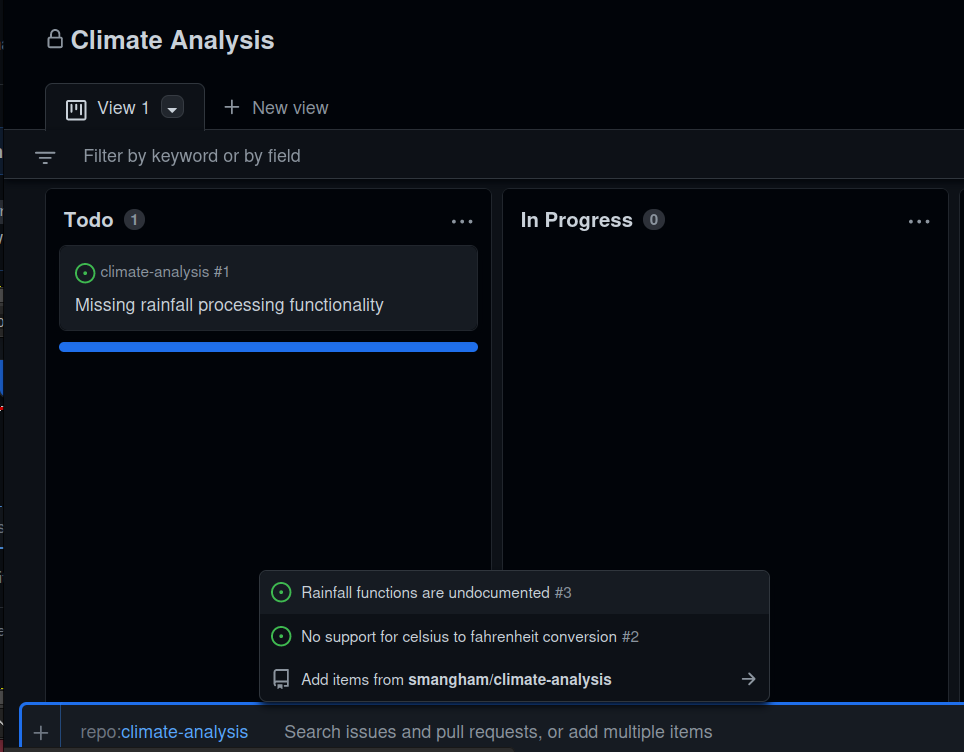
Figure 8
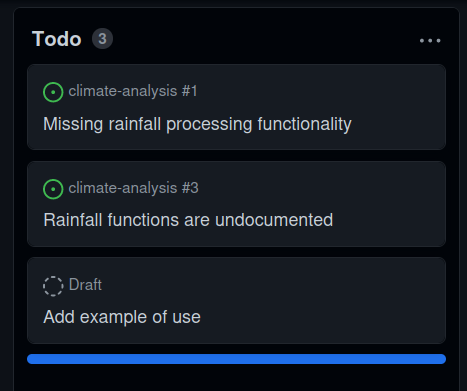
Figure 9
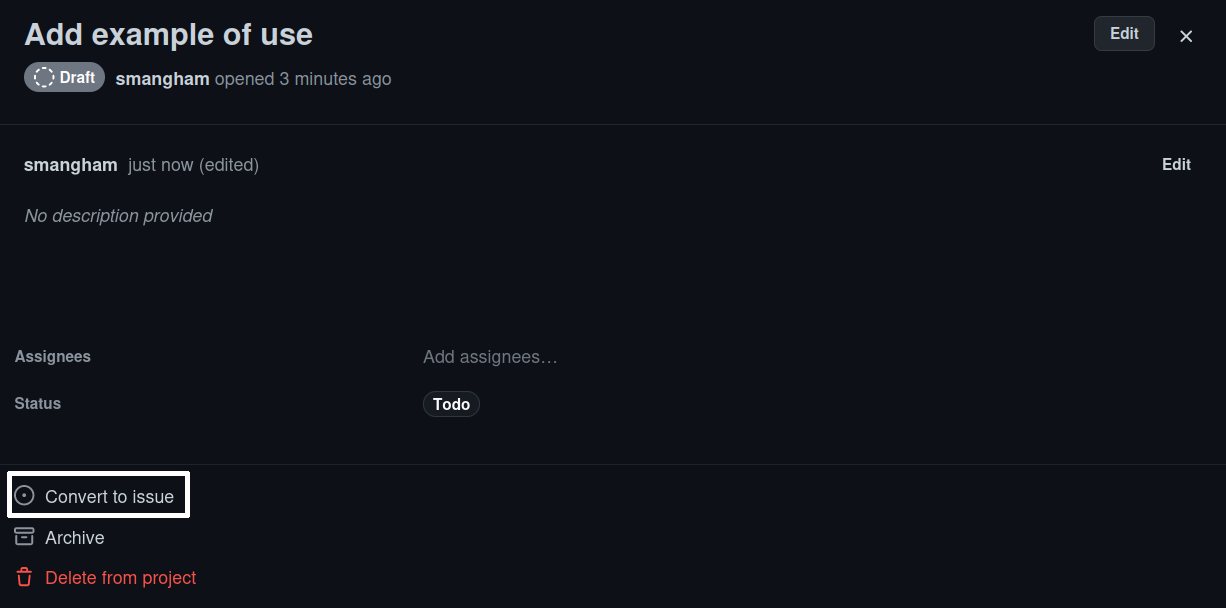
Figure 10
We convert the card to an issue, and add a quick description, then
click Convert to issue and select
climate-analysis from the dropdown: 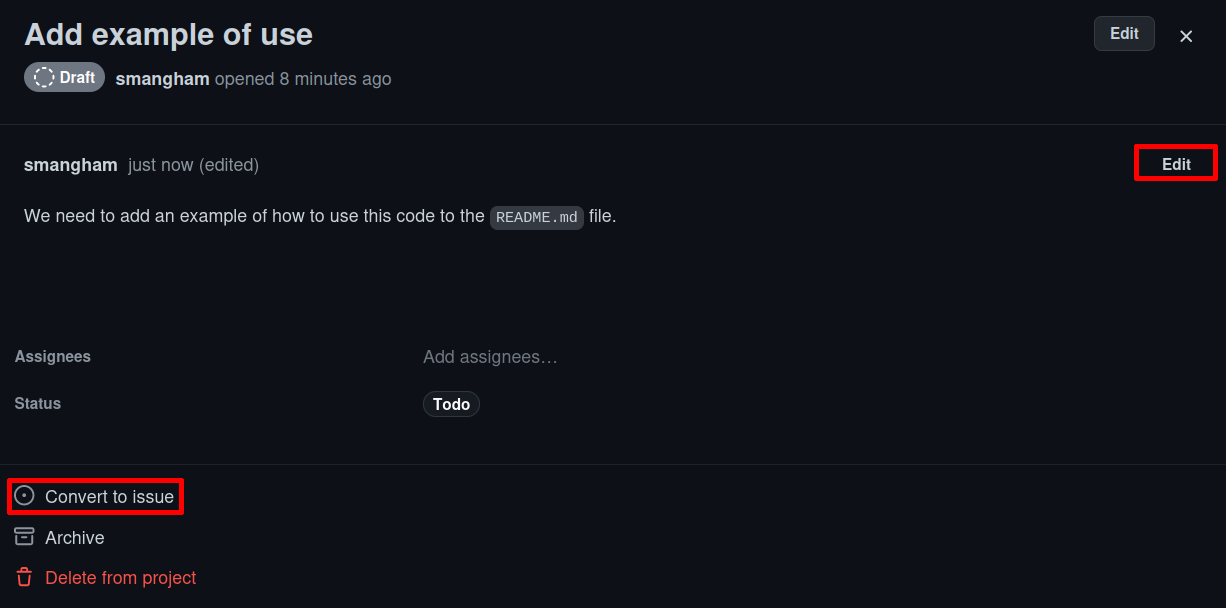 Once we’ve made the issue, we can follow
the link to see it and add the Documentation label:
Once we’ve made the issue, we can follow
the link to see it and add the Documentation label:
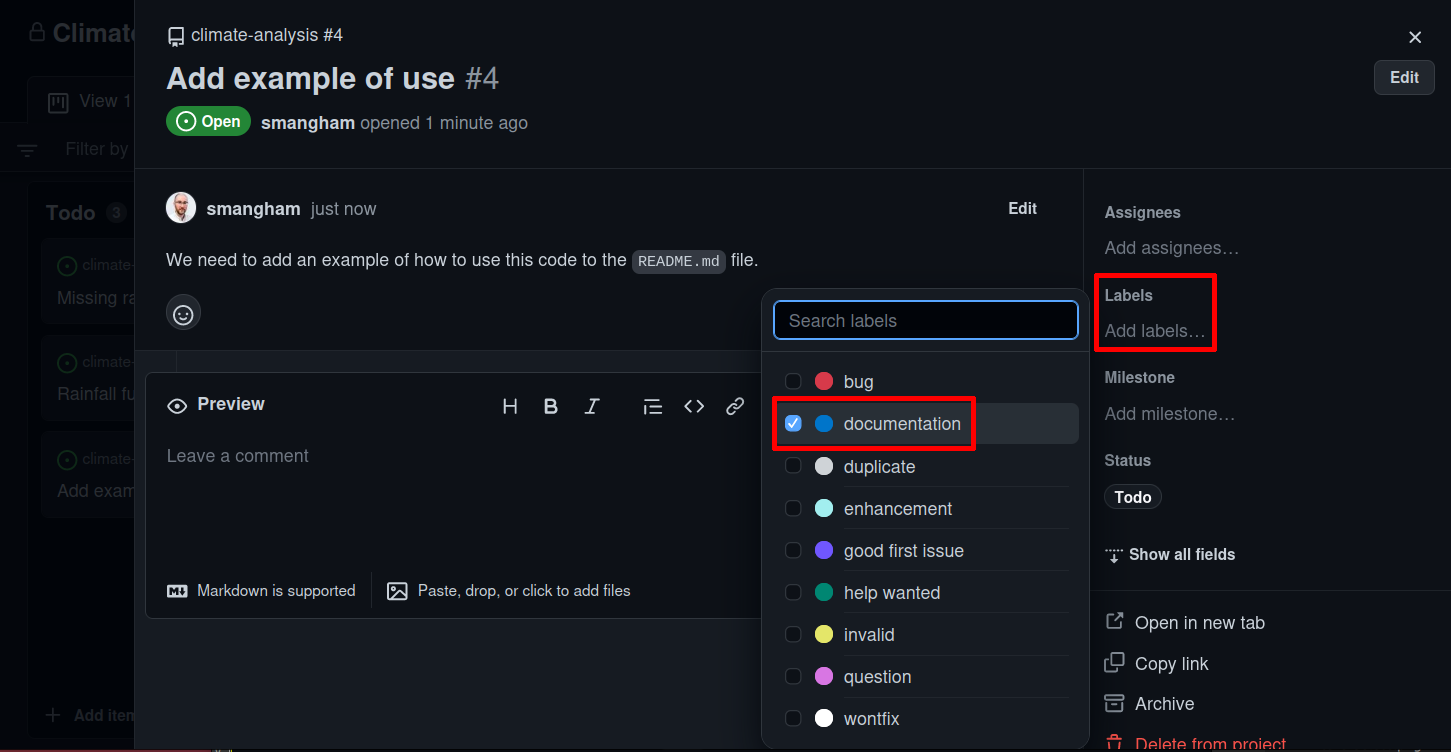
Figure 11
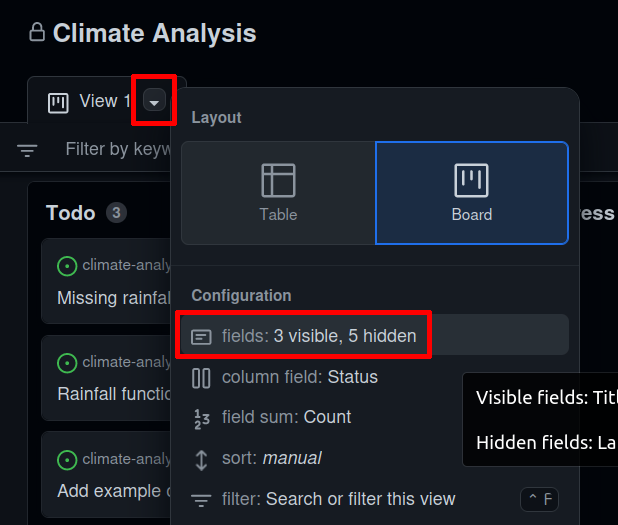
Figure 12
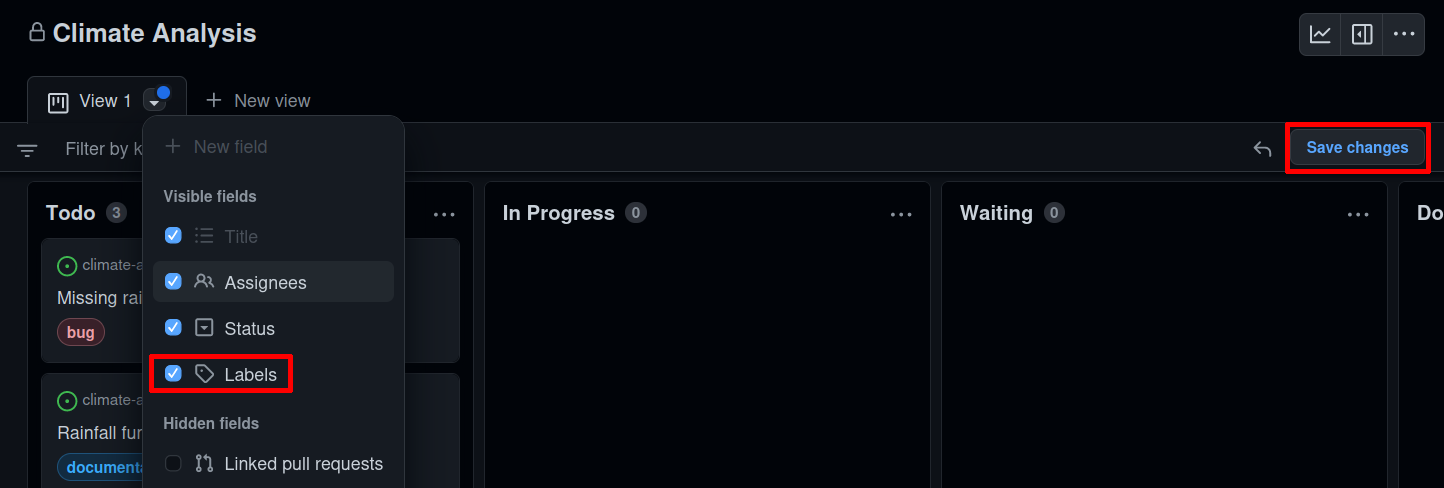
Figure 13

Figure 14
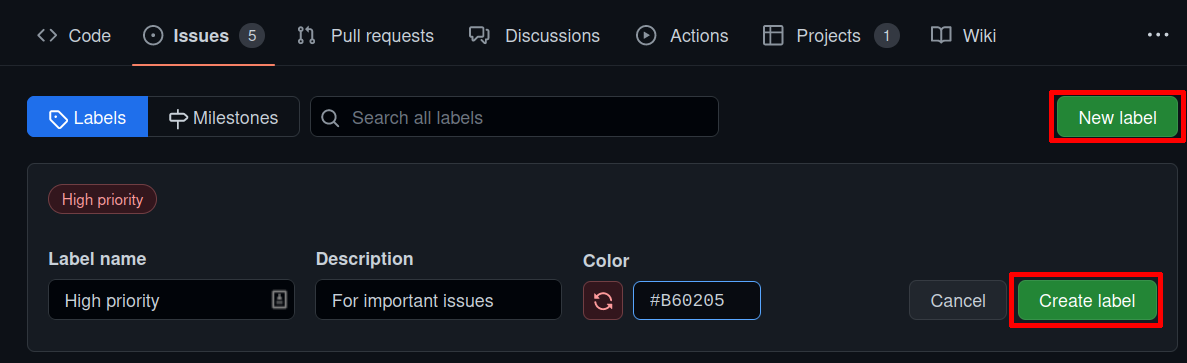
Figure 15
We type High priority into the box at the bottom of the
Todo column: 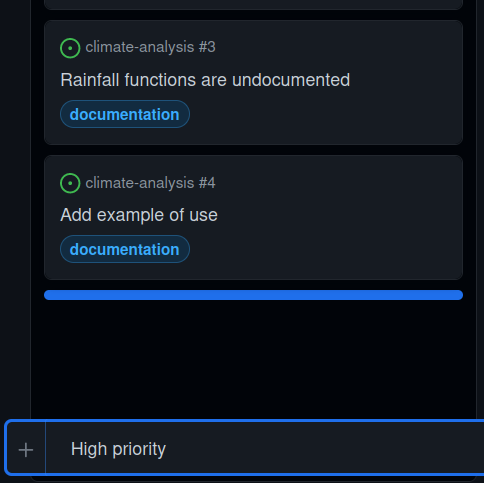 Then we can click and drag to move it to
the top of the column:
Then we can click and drag to move it to
the top of the column: 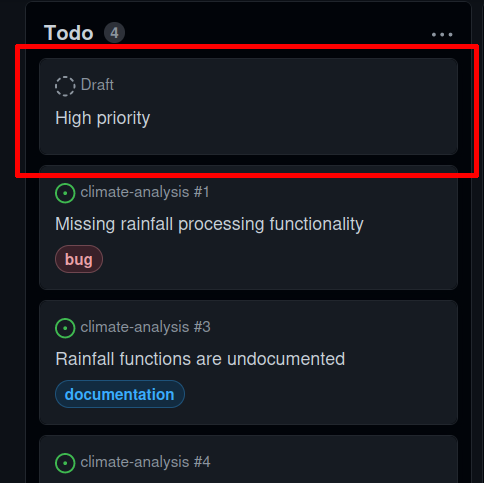
Figure 16
Or, we can convert the card to an issue as we did before, then select
the High priority label we made earlier: 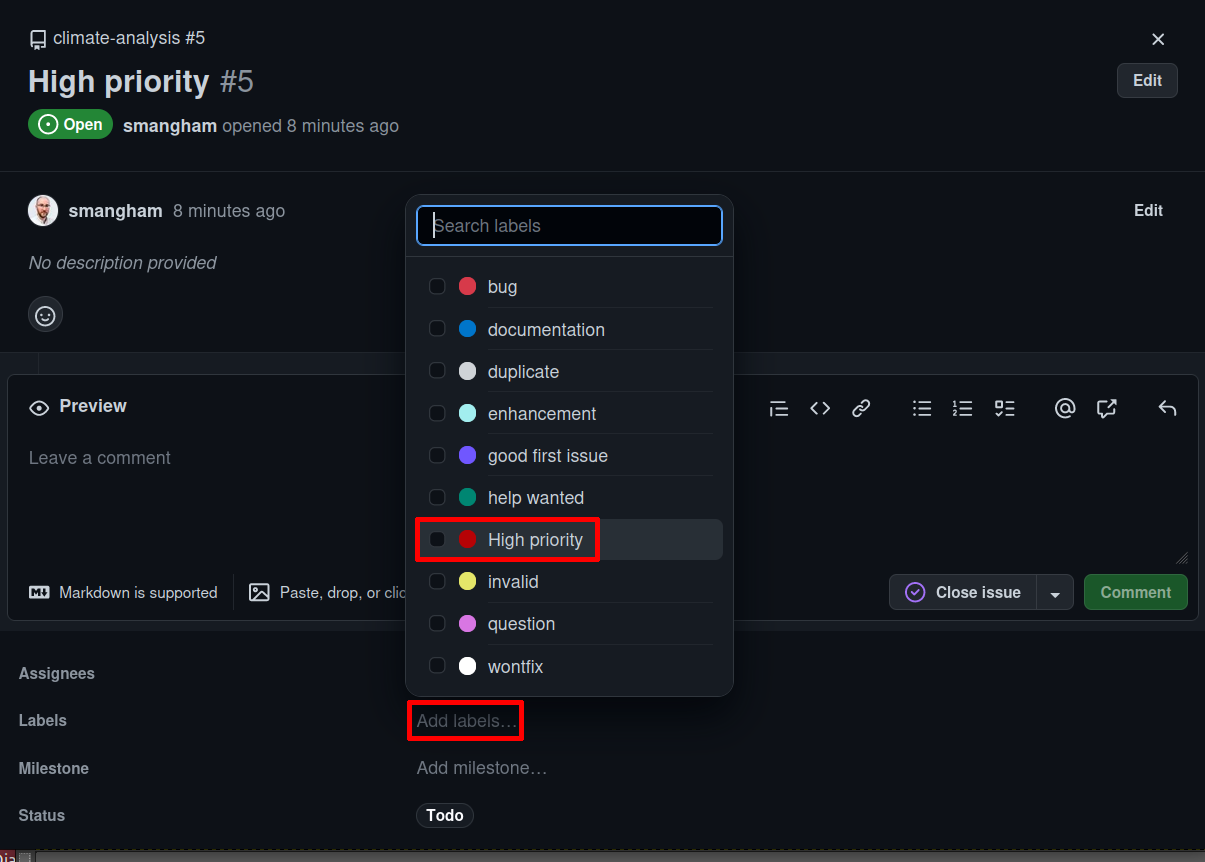 Then we have prioritisation by label:
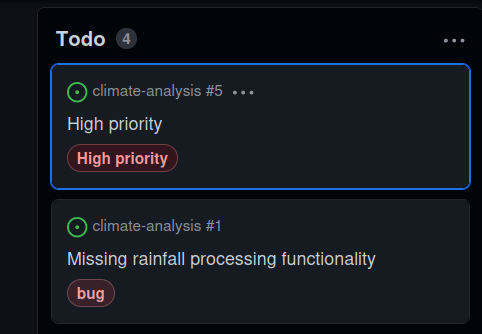
Figure 17
Figure 18
Figure 19
Figure 20
Figure 21
Figure 22

Figure 23
Release Management
Figure 1
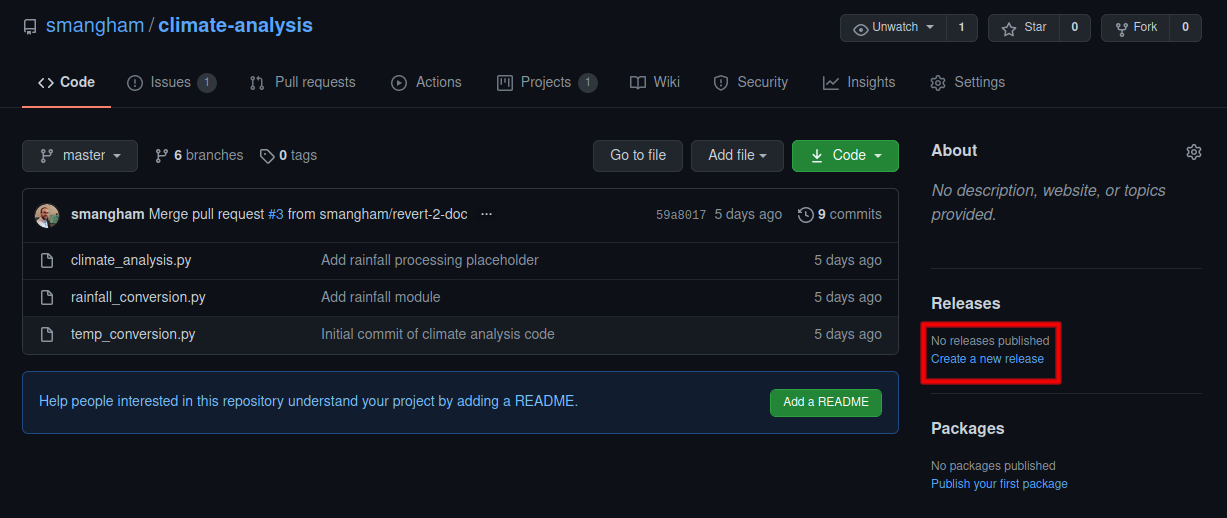
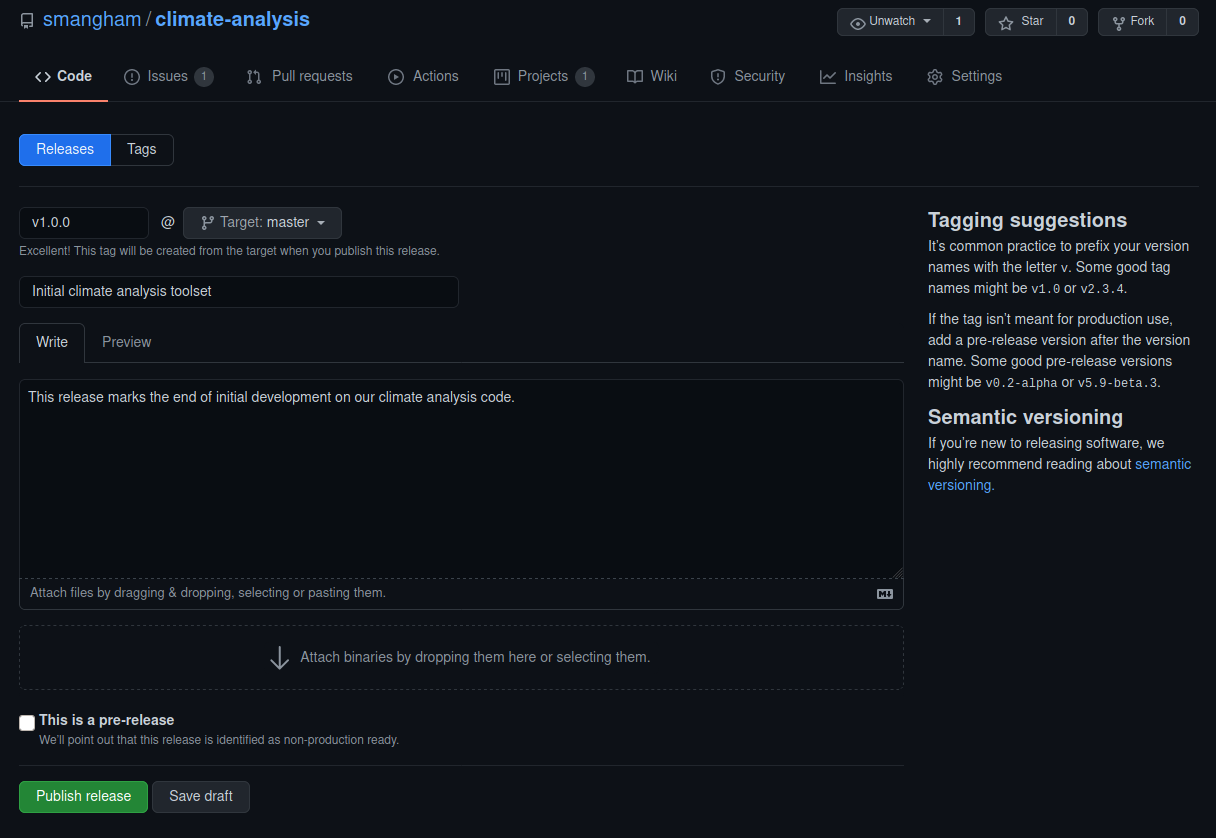
Figure 2
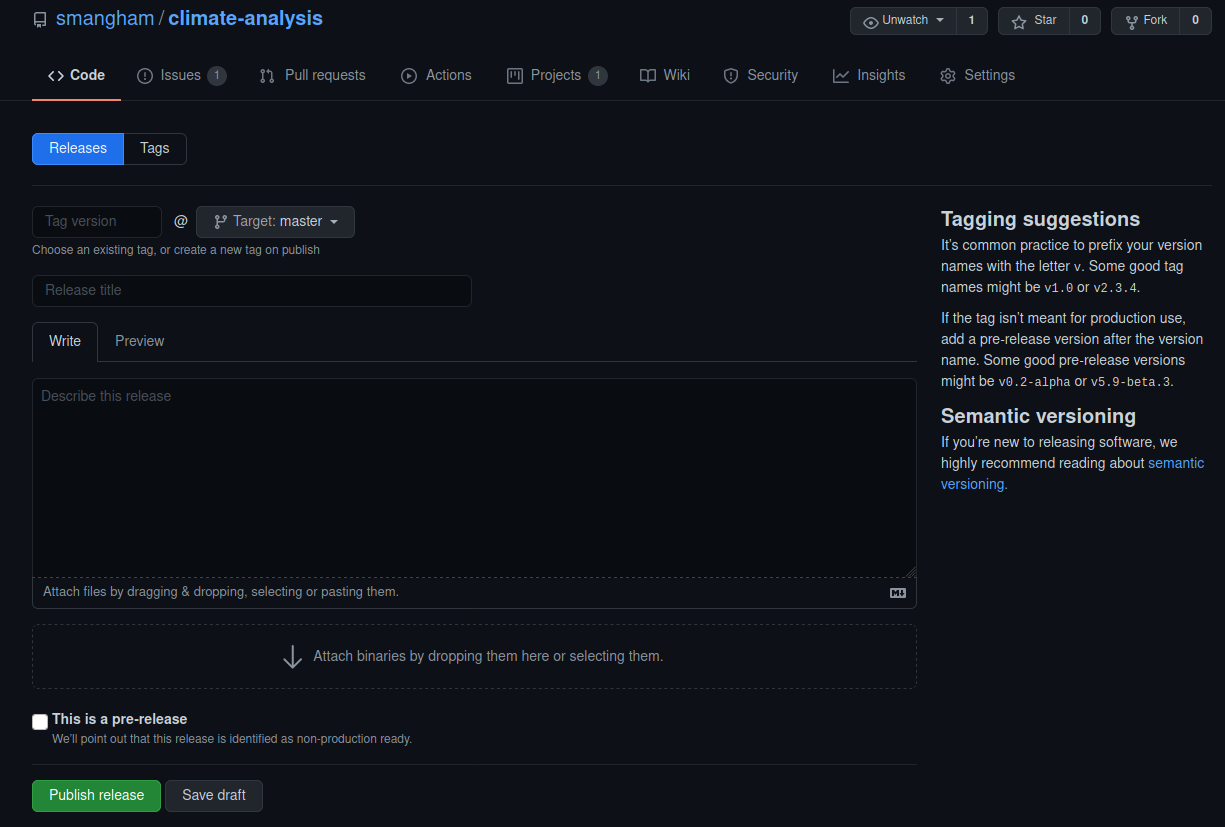
Figure 3
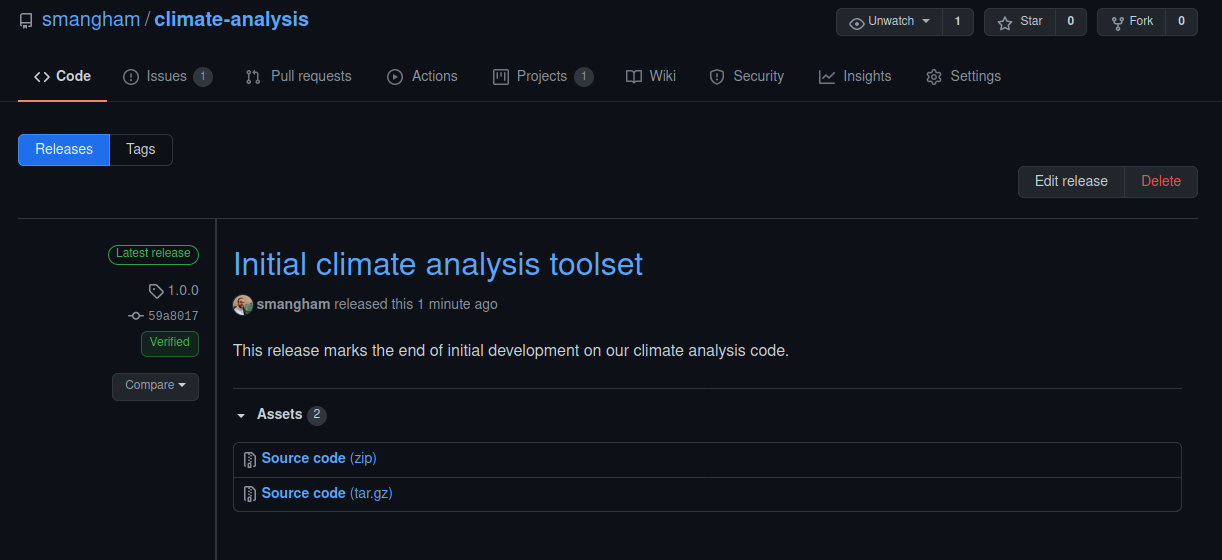
Figure 4
First, making sure we’re on sandbox.zenodo.org, we need to
sign up using our GitHub account - using Log in or
Sign up, and and selecting GitHub.
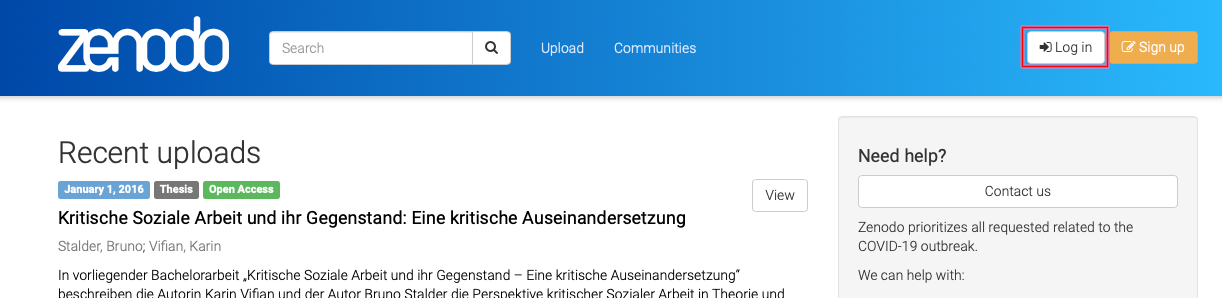
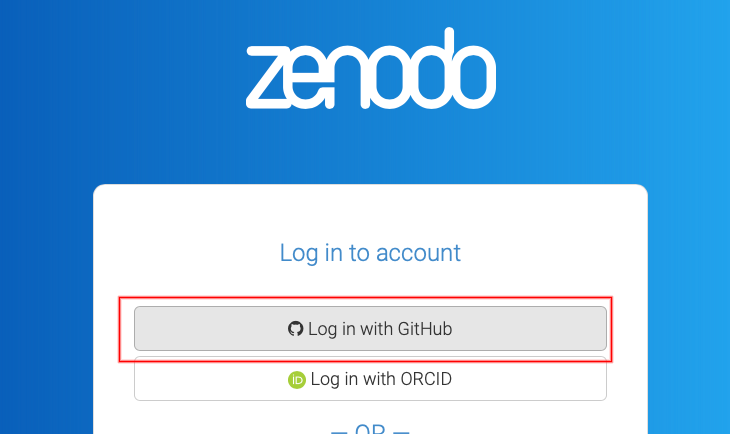
Figure 5
Once you’ve logged in, selecting GitHub from the
drop-down menu opens a list of your repositories, and we can toggle them
to ‘on’ to begin tracking releases on them. 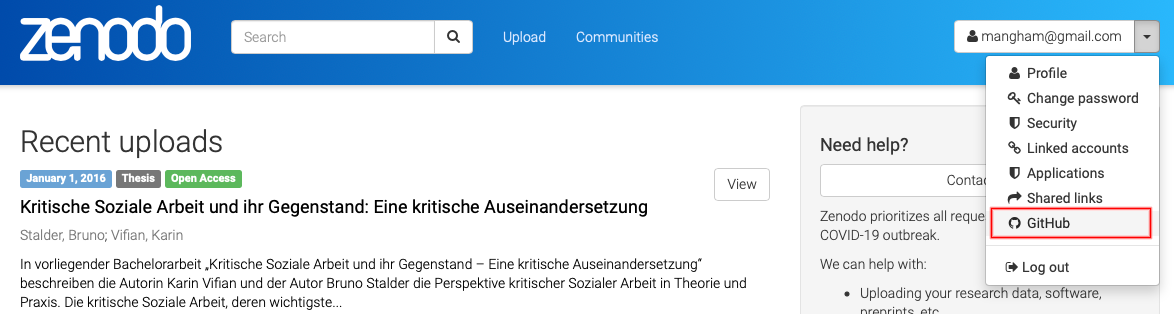
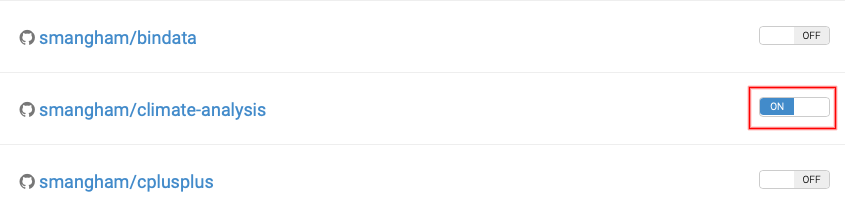
Figure 6
Zenodo won’t retroactively generate DOIs for releases, so we need to
head back to GitHub, and create a new release, then go
back to Zenodo and click on our repository to see the
status of our upload. 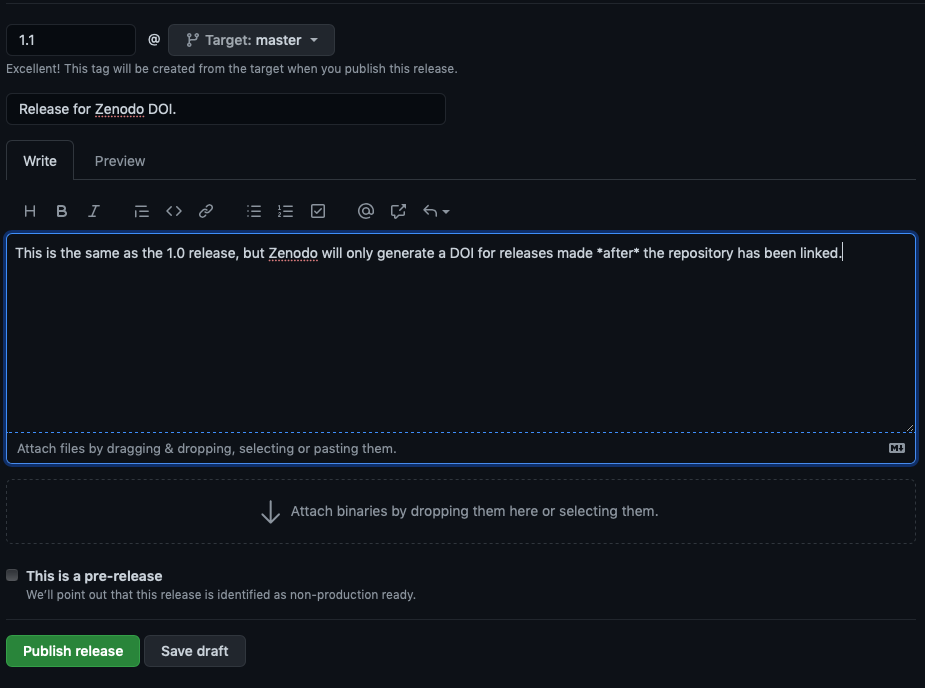
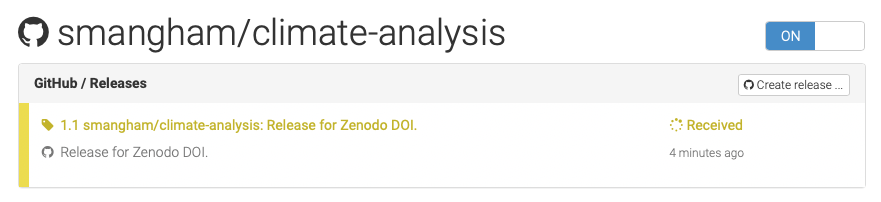
Figure 7
Depending on how busy Zenodo is, this can take anything from minutes
to hours to process. Once it’s done, though, you get a DOI, which we can
then edit into the message for our release. 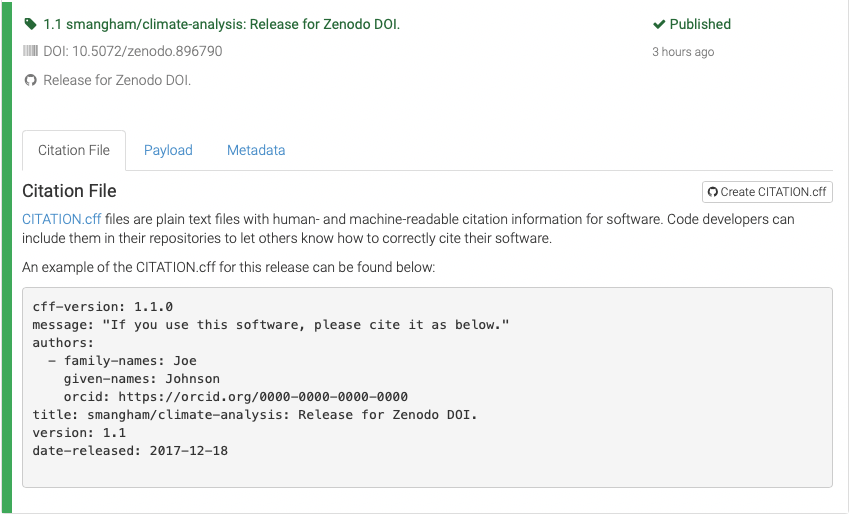
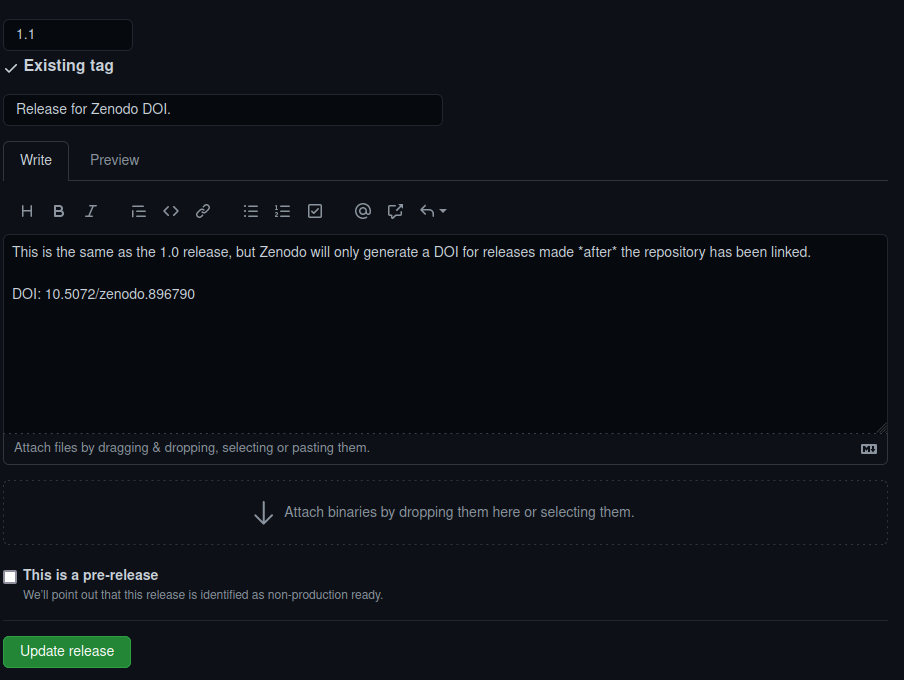
Figure 8
Now, when we check on GitHub, there’s a button that provides a BibTex
(or APA) format citation for your code. 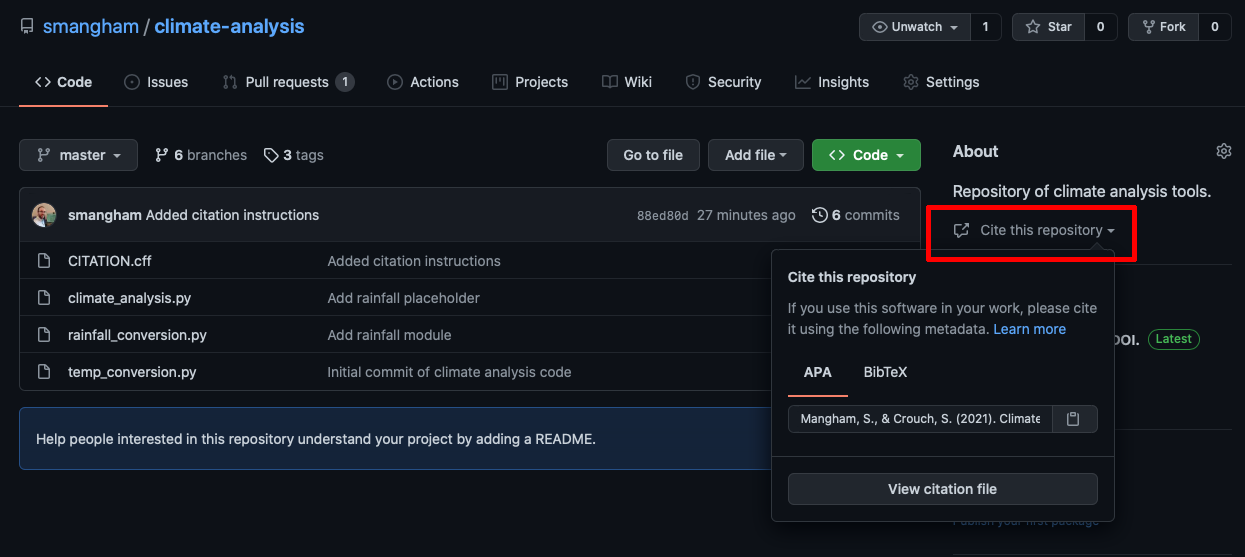
Writing Sustainable Code
Managing a Mini-Project
Figure 1
Figure 2
Figure 3
We’ll go to the Issues tab of our
project-novice-demo, repository, select New
Issue, then create an issue. We can even link our issue
directly to our project board from here: 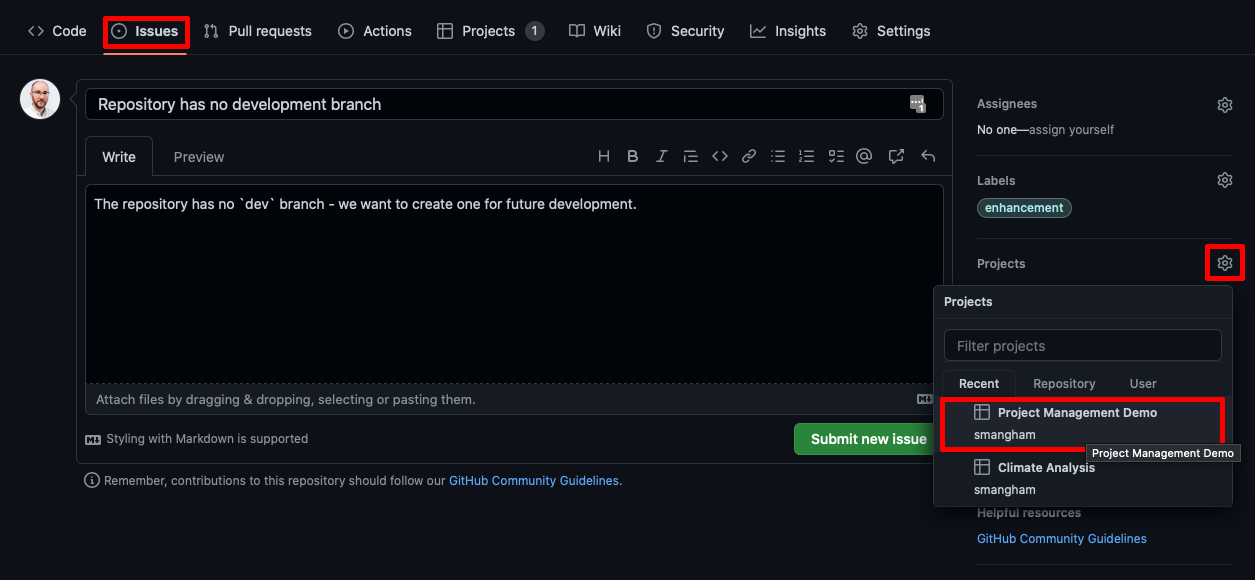
Figure 4
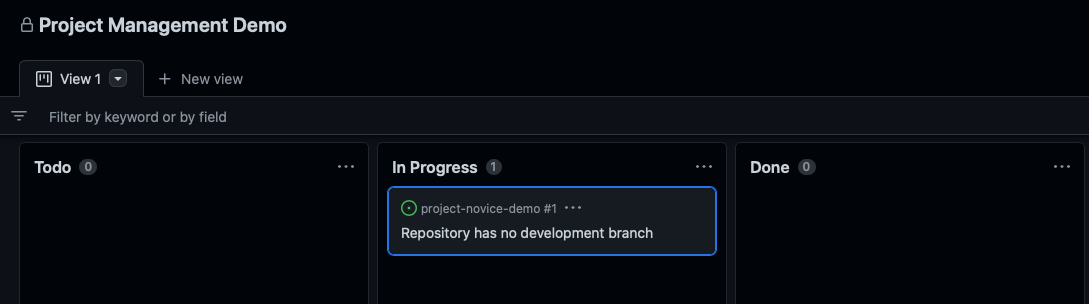
Figure 5
Figure 6
Figure 7
Figure 8
Figure 9
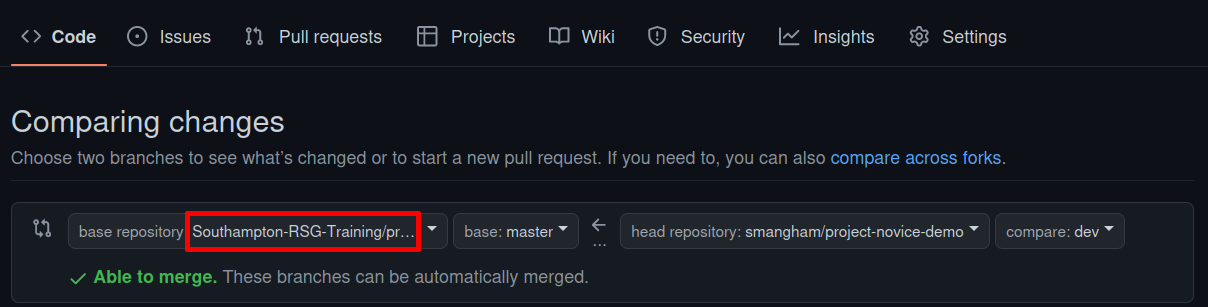
Figure 10
README.md file on GitHub, and switch to the
dev branch version of it 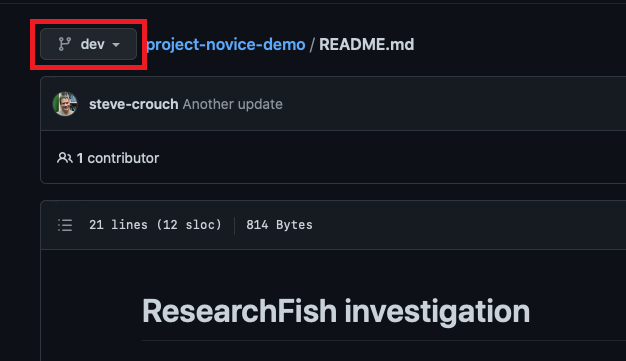
Figure 11
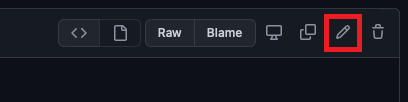
Figure 12